Cameratrap Kit: instructions
Assembly:
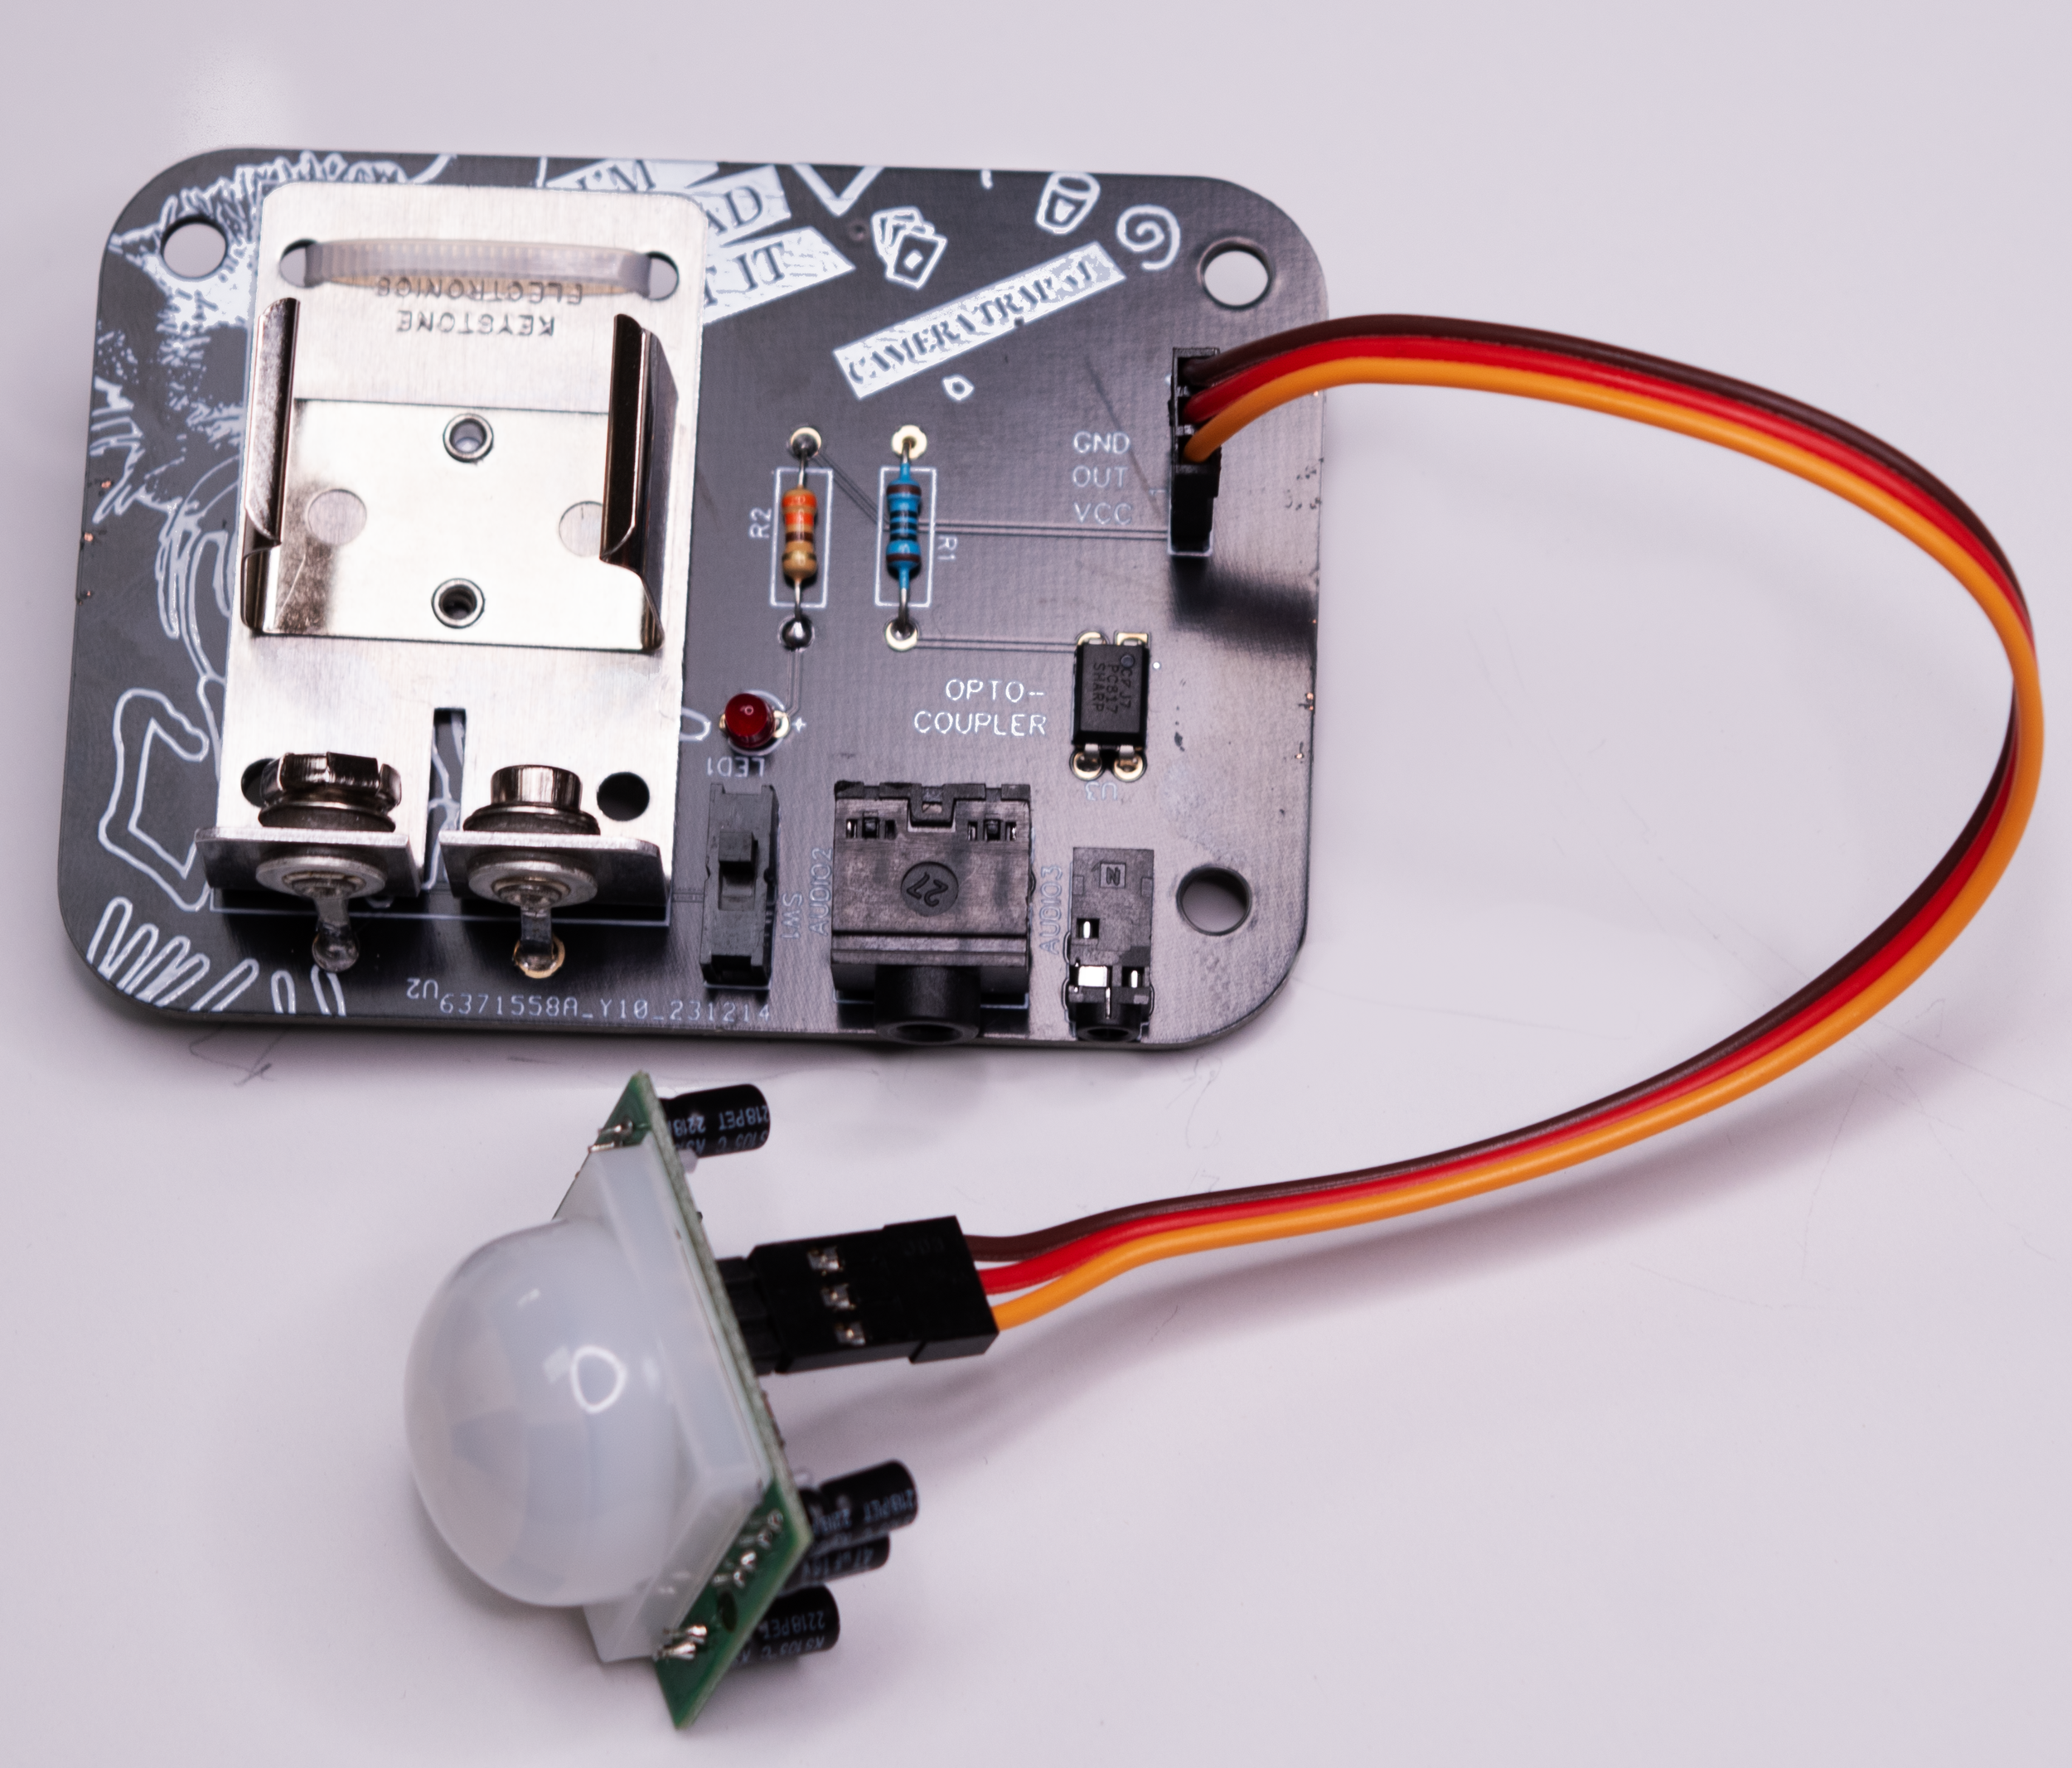
Solder all the components as seen here.
Tip: For fiddly components, use some painters-tape to secure them to the PCB, before turning the board over for soldering.
Once all components are soldered, use the ziptie to secure the back of the battery clip to the PCB.
Tip: When connecting the PIR Motion sensor to the header pins on the PCB, be sure to connect GND to GND as well as VCC to VCC. Both the PCB and sensor are clearly labeled. If you connect them the other way round, it’s not a problem but the sensor won’t be powered.
Tip: When inserting the optocoupler, take note of where the dot is on the component and line it up with the dot on the PCB.
Connecting your camera
The optocoupler component on the PCB physically separates the powered circuit from your camera, i.e no electricity flows into your camera at any time. When the motion sensor detects motion, it triggers a tiny LED inside the optocoupler, which in turns causes an enclosed photosensitive switch to close.
Your camera will be plugged in via AUX cable*. When the photosensitive switch inside the optocoupler closes, it will act like a jumper cable between pin 1 and ‘sleeve’ on the audio jack, which for most camera-models, triggers the shutter-release.
*Camera shutter release cable
This component is not included and you’ll have to procure one that fits your camera’s specific model. Nikon, Canon, etc all have different cables, yay. Search for a shutter release cable that plugs into your camera on one end, and has an audio jack at the other end (both 2.5 and 3.5 mm will work with the PCB)
Like this one
Check Amazon.com for a wide selection.
Adjusting the Motion sensor
Two small potentiometers let you adjust Sensitivity (how “far” the sensor “sees”) and Time (how long the sensor waits before sending another output signal, when motion is detected).
Play around with these to find something that works for your setup.
Tip: Make sure your camera is set to ‘single shoot’ mode rather than ‘continuous shoot’.
Tip: Having the flash activated will likely require slightly different settings on the sensors


